
Last updated November 2, 2026
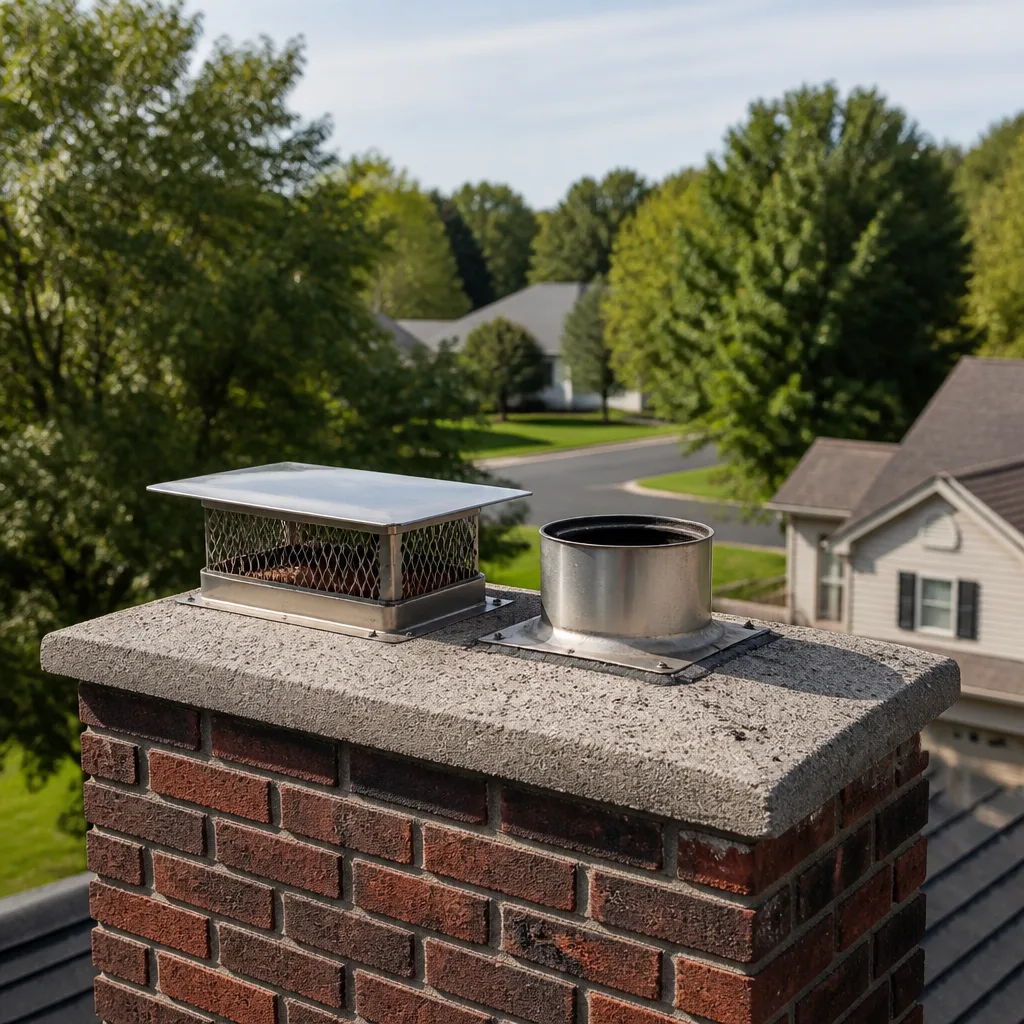 Sweep & inspection
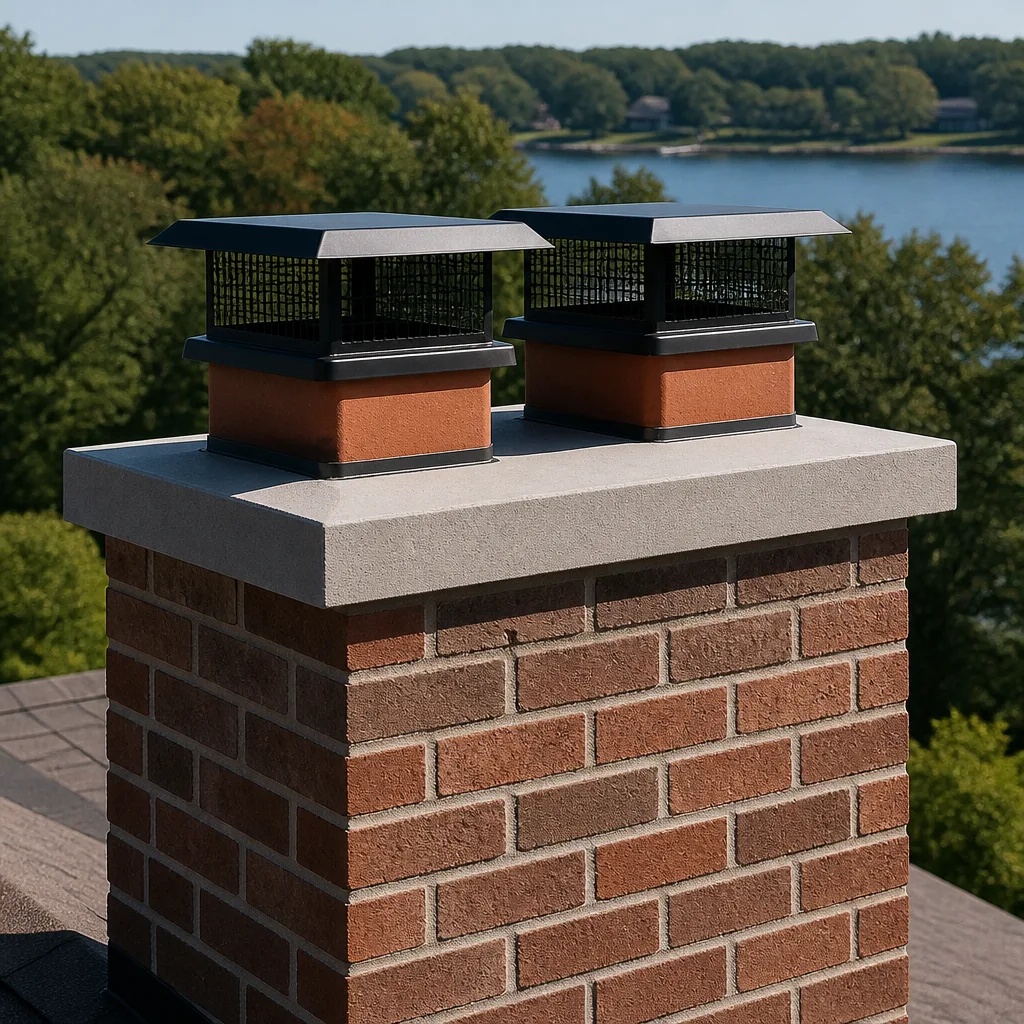 Caps & crowns
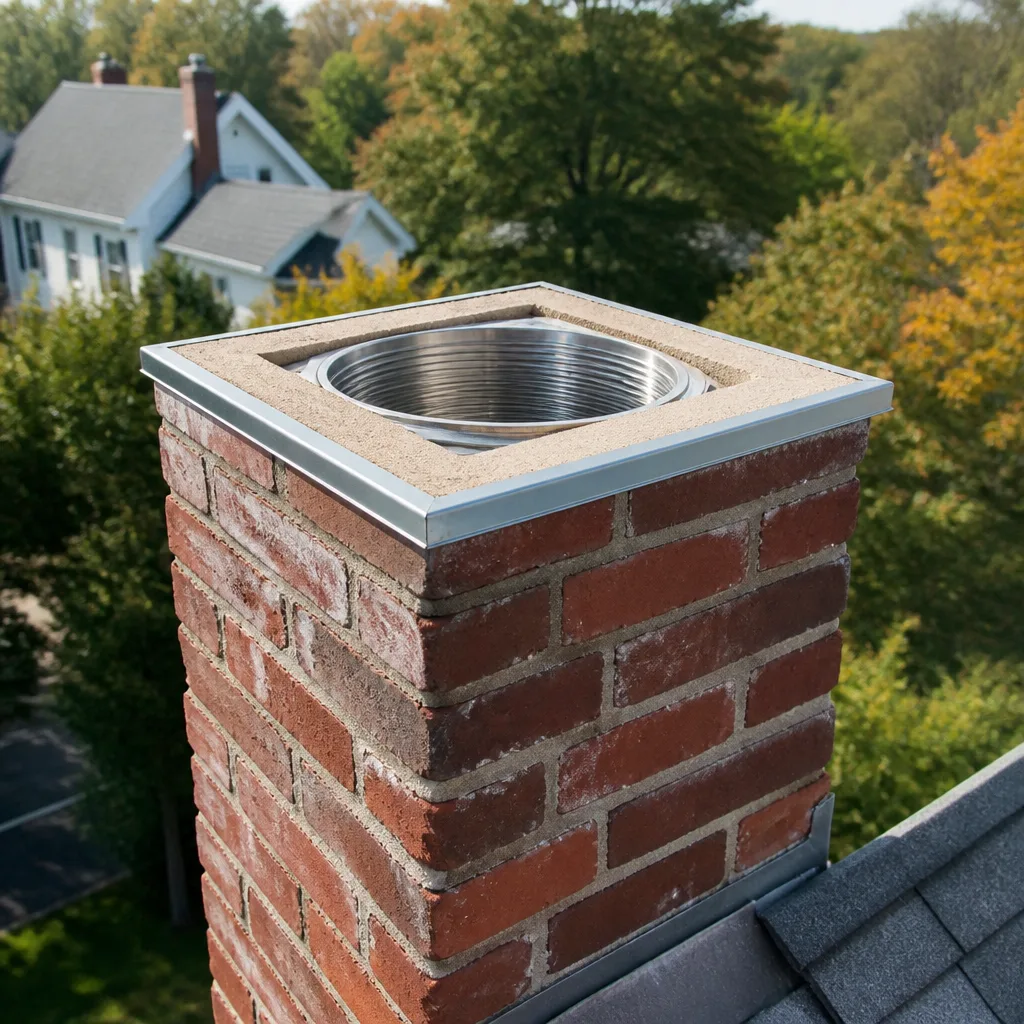 Flue relining
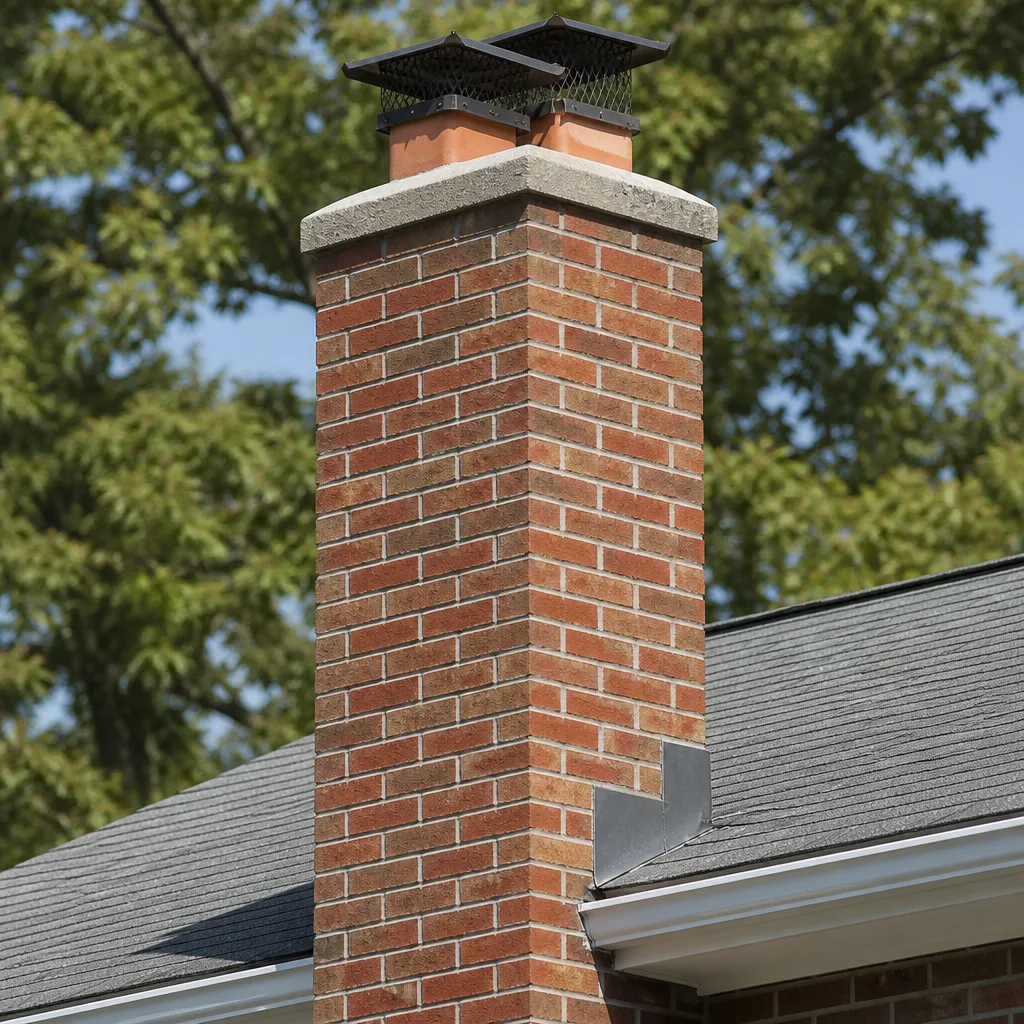 Masonry repair
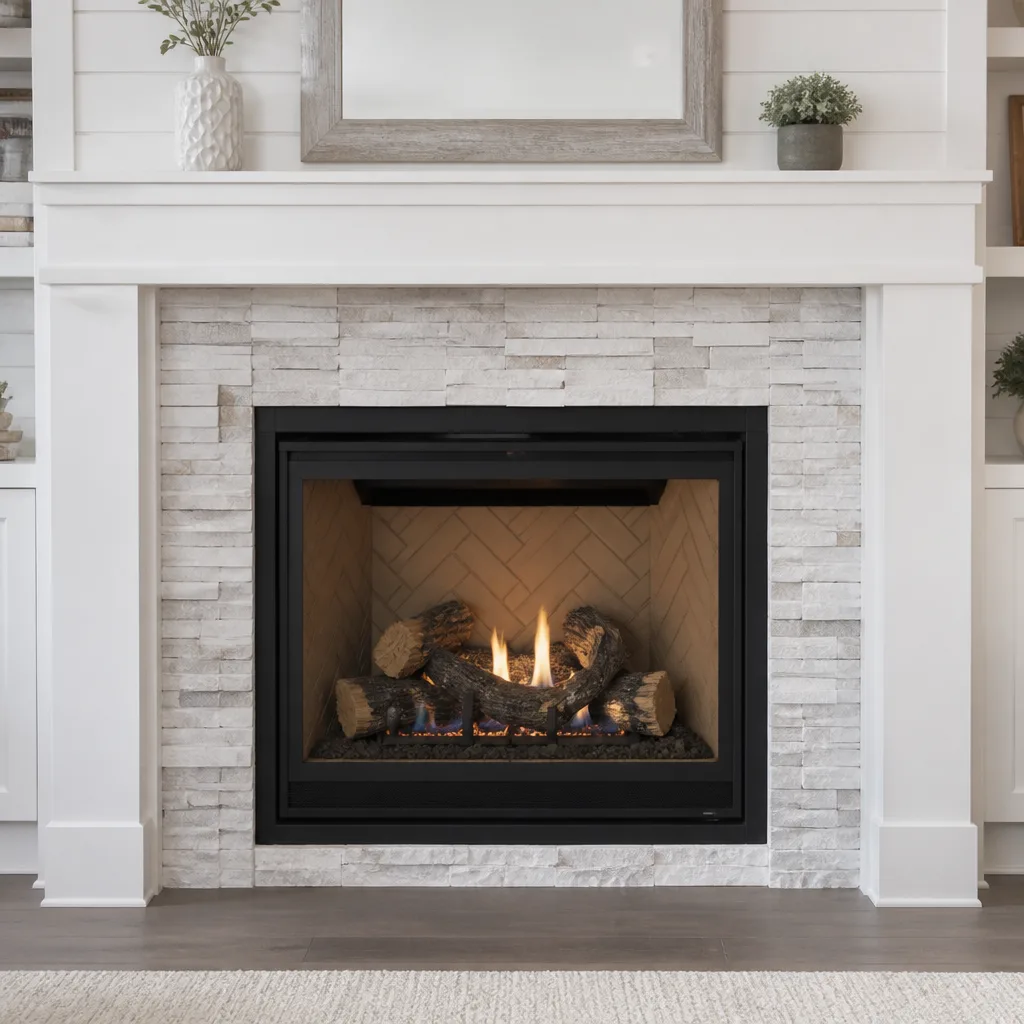 Gas fireplace service
Level 1 sweep and inspection to the NFPA 211 annual standard - flue, crown, cap, and flashing checked and photographed
Chimney sweep logs do not sweep chimneys. They loosen some creosote - which then falls where a brush and vacuum still have to collect it.
Chimney Sweep Maintenance Checklist for South Gate Homeowners
The three items most homeowners skip on chimney maintenance are cap condition, damper seating, and firebox joint integrity. Those are also the three that generate the most emergency calls between November and February, when South Gate families actually start using their fireplaces again. A chimney doesn’t fail all at once. It fails in increments, and a checklist built around South Gate’s specific climate and housing stock catches those increments early. Here’s the thing most guides won’t tell you: a maintenance checklist is a diagnostic framework, not a to-do list. It’s a way to look at a chimney and know whether what you’re seeing is normal wear or the early stage of a $4,000 repair. This guide walks you through that framework, month by month, inspection point by inspection point, so you know what to check, what you can skip, when to call a Chimney Sweep, and what to document along the way.
Quick Answer
A proper chimney maintenance checklist for South Gate homeowners has four layers: monthly visual checks during burn season (glassy creosote, cap obstructions, damper movement), post-Santa Ana wind inspections (cap damage, crown cracking, displaced spark arrestors), an annual professional sweep and Level 1 inspection before first burn, and repair triage in spring when masonry work sets properly. Most South Gate chimneys need one sweep per year, more if you burn weekly or burn unseasoned wood. The full checklist below breaks each layer into owner-observable items and items that require a professional to verify. For Chimney Sweep Troubleshooting: Common Problems and How to Fix Them, see our dedicated guide.
Styles & brands we work with
- Sweep & inspection
- Caps & crowns
- Flue relining
- Masonry repair
- Gas fireplace service
Table of Contents
- The South Gate Month-by-Month Checklist
- What You Can Check Yourself (No Tools Required)
- What Only a Professional Should Verify
- The Santa Ana Wind Protocol
- How to Document Chimney Condition Over Time
- Checklist Items That Signal Repair Costs
- The Dryer Vent Add-On Most Checklists Miss
- Common Mistakes to Avoid
- When to Call a Professional
- Frequently Asked Questions
The South Gate Month-by-Month Checklist
South Gate’s climate is not a four-season climate, and a checklist that treats October like October in Chicago is useless here. What matters is the interplay between our Mediterranean rain patterns, the annual Santa Ana cycle, and the fact that most South Gate homes were built between the 1920s and 1960s. Those homes have masonry chimneys with clay tile liners, which behave differently than the prefab metal chimneys in newer construction. Here’s what actually matters month to month.
October: The Pre-Burn Baseline
Before you light the first fire of the season, do a visual sweep of the firebox and the chimney exterior. Look for anything that changed since last winter: cracks in the firebox mortar joints, spalling brick on the exterior, a cap that’s shifted or missing. If you burn wood, schedule your annual sweep now. South Gate sweeps book heavily in late October and November, and waiting until the first cold snap means waiting behind everyone else with the same idea. If you have an older home in the Tweedy corridor or the Hollydale area with a clay tile liner, this is the time to inspect the visible top tile for cracks.
November-February: Burn Season Monitoring
Once you’re burning regularly, check the firebox weekly. Creosote buildup in an active burn season can move fast, especially if you’re burning wood from the local big-box stores that hasn’t been kiln-dried. Look at the damper plate and the first few feet of flue tile above the firebox. If you see shiny, tar-like deposits, that’s stage-three creosote, and it’s a chimney fire waiting for the right draft. If you see dull, flaky soot, you’re fine. Also watch the smoke: a properly drafting chimney sends smoke straight up. Smoke that hangs at the firebox opening or drifts into the room means a draft problem, and that’s usually a cap, damper, or liner issue, not something to fix with more newspaper and patience.
March-April: The Post-Season Inspection Window
Once you’re done burning for the year, do a slow, thorough inspection of everything Santa Ana season and winter rains affected. This is the best time to book chimney repairs in South Gate, because mortar and refractory materials cure properly in spring temperatures, and you’re not competing with emergency calls. Wait until we’ve had a few dry weeks so the masonry has a chance to show any moisture-related cracking from the winter rains. Check the crown, the wash, the cap, and the flashing where the chimney meets the roof.
May-September: The Repair and Prep Window
Fireplace maintenance doesn’t stop when the fireplace stops. Summer is when South Gate homeowners should address any issues found in the post-season inspection: crown resurfacing, cap replacement, damper repair, firebox tuckpointing. It’s also the right time for dryer vent cleaning, which we’ll cover later. The point is that by the time October arrives, you want the system already clean and repaired, not scrambling to fix a cracked crown the week before Thanksgiving. For Choosing the Right Chimney Cleaning Brand: A Buyer’s Guide for South Gate, check our recommendations before booking.
What You Can Check Yourself (No Tools Required)
You don’t need a tool belt to perform a meaningful chimney inspection. You need to know what a healthy chimney looks like and what the failure modes are. Here’s the owner-observable checklist, organized by component. Do this twice a year: once in October before burn season, once in April after burn season.
From the Ground, Looking Up
- Chimney cap: Is it still there? Does it sit level? A tilted or missing cap is the single biggest entry point for rain and animals. Most South Gate homes have standard galvanized or stainless caps that rust out over 10 to 15 years.
- Crown / concrete wash: Look for cracks, flaking, or missing sections at the top of the chimney. A cracked crown lets water into the masonry, and in a climate that sees heavy seasonal rain, that water expands and contracts and gradually breaks the whole top section apart.
- Brick faces: Spalling, which looks like the brick surface peeling away or flaking in thin layers, means the brick is saturated and failing. Look for white powdery deposits on the masonry; that’s efflorescence, and it’s a sign water is moving through the structure.
- Flashing: The metal where the chimney meets the roofline is a common leak point. From the ground, look for lifted flashing, gaps in the sealant, or rust staining running down the chimney face.
From Inside the Firebox
- Damper plate: Open it and close it. Does it move freely? Does it seat fully when closed? A damper that doesn’t seat lets heated house air escape up the flue in winter and lets cold air drop down in summer. The fix is usually a simple adjustment or replacement of the damper assembly.
- Firebox walls and floor: Look at the mortar joints between the firebrick. Hairline cracks are normal. Gaps wider than a nickel anywhere in the firebox are a problem. Also look for gaps between the firebrick and the surrounding structural brick; that’s where heat escapes into the wall cavity.
- Back wall and side walls: Check for discolored brick, cracked refractory panels, or areas that look “washed out.” These are signs of overheating, often from burning too much wood at once or using the fireplace incorrectly.
- Ash depth: Keep ash below the grate line. A thick ash bed reduces airflow and can cause the fire to burn hotter and less efficiently.
What You Can’t See Is What Matters
Here’s the limitation of owner-observable checks: you can only see the first few feet of the flue from the firebox. The upper 80% of the flue liner requires a scope or a trained eye with proper lighting. For South Gate homes built before 1960, that upper flue section is the most likely place to find cracked clay tiles, voids between tile sections, or a buildup that has hardened into glazed creosote. This is exactly why an annual professional inspection exists.
What Only a Professional Should Verify
Some checklist items require specialized knowledge, specialized tools, or both. If you’re a South Gate homeowner doing your own seasonal checks, here’s where the line is between what you can identify and what you need a pro to confirm.
Chimney liner condition
A cracked clay tile liner is invisible from the ground and often invisible from the firebox. A professional uses a camera scope or a Level 2 inspection protocol to check the entire flue run. What you might see is the secondary evidence: pieces of clay tile falling into the firebox, a fireplace that suddenly drafts poorly, or a smell that persists after burning. If any of those show up, the liner is suspect until proven otherwise. In South Gate, older masonry chimneys frequently need relining after 40 to 60 years, and the two main approaches are a full stainless liner system or chimney repair in South Gate that includes HeatShield ceramic resurfacing for less extensive damage. The right material for the job depends on the liner’s condition, the chimney’s height, and the appliance venting into it.
Creosote stage and cleaning threshold
You can see creosote in the firebox, but you can’t see the flue wall where the dangerous deposits accumulate. A professional can identify whether you’re dealing with stage-one flaky soot, stage-two granular deposits, or stage-three glazed creosote, which cannot be removed with standard brushes and requires chemical treatment and specialized tools. The threshold for professional cleaning is generally 1/8 inch of buildup, and it’s measured in the flue, not the firebox.
Carbon monoxide risk assessment
A blocked or partially obstructed flue doesn’t always show itself with obvious smoke backup. Sometimes the symptoms are subtle: a slow-developing headache during a fire, a fireplace that’s hard to light, or a persistent musty smell. These are carbon monoxide red flags, and they’re not something to self-diagnose. If a damper is stuck partially open or an animal has nested in the flue, CO can backdraft into the home. This is a professional-level evaluation, full stop.
Structural masonry assessment
Not every crack in a chimney exterior is a structural problem. Some are cosmetic settlement cracks. Others indicate a leaning chimney, a failing foundation pad, or a separation between the chimney and the house. Telling one from the other requires understanding load paths and crack patterns, and the wrong assessment costs homeowners real money. We’ve seen South Gate homeowners pay for full chimney rebuilds when a crown resurfacing and tuckpointing job would have solved the problem.
The Santa Ana Wind Protocol
Santa Ana winds are a defining feature of life in the LA Basin, and South Gate gets hit with the same dry, gusting conditions as the rest of the region. These winds routinely reach 40 to 60 mph during peak events, and that’s enough to dislodge a chimney cap, crack an aging crown, or send debris into the flue. If you live in South Gate, your maintenance checklist should include a specific post-Santa Ana protocol, run after any major wind event.
- Check the cap from the ground. After a strong wind event, walk outside and visually confirm the cap is still centered on the flue and not tilted or gone. A missing cap is the most common wind-related issue we see in South Gate.
- Look for debris in the spark arrestor. Spark arrestors are the metal screens on top of many caps. Wind carries leaves, palm fronds, and other South Gate yard debris into these screens, and a clogged spark arrestor restricts draft and becomes a fire hazard.
- Inspect the crown for new cracks. Gusting wind doesn’t crack a crown by itself, but it stresses a crown that’s already weakened. If you had hairline cracks after the winter rains, a strong Santa Ana event can turn them into visible gaps.
- Check for displaced flashing. The wind can lift a loose flashing section where it meets the roofline, and a small lift becomes a big leak during the next rain. Look for any metal that appears proud of the roof.
- Listen for noises inside the flue. After the wind dies down, open the damper and listen. If you hear scratching in the flue, an animal rode out the wind event in your chimney, and that’s a problem to address before you burn.
The biggest takeaway here is that Santa Ana winds create acute damage on top of whatever chronic wear already exists. A crown that’s been slowly cracking for three years finally gives way during a 50-mph gust, and suddenly you’ve got water intrusion. The protocol above catches the acute damage within days, not months later when the damage has compounded.
How to Document Chimney Condition Over Time
One of the most valuable maintenance habits a South Gate homeowner can build is documentation. A dated photo of the firebox, the cap, and the crown today becomes evidence tomorrow. When a contractor tells you something has “worsened significantly,” you want to be able to verify that claim.
How to Build a Chimney Condition File
- Photograph everything twice a year. Use your phone. Take a picture of the firebox from the same angle, the damper in open and closed positions, the exterior chimney from the ground, and the cap if you can get a sightline from an upper window or adjacent roof. Store these in a folder labeled by date.
- Note the burn season. When you close out the fireplace for the year, write down roughly how many fires you burned and what kind of wood you used. That context explains why one year’s creosote buildup differs from another’s.
- Record the dates of professional cleanings and inspections. Every sweep report should go in the file. If the sweep notes “moderate creosote” one year and “heavy creosote” the next, that’s information you can use to adjust burn habits.
- Photograph repair work before and after. If you have crown work, tuckpointing, or a liner job done, document the before state and the finished result. This is your evidence of the repair’s quality.
This practice takes 20 minutes twice a year and creates a record that protects you from overselling. We’ve had South Gate homeowners show us a photo from three years prior that proved a crack in the firebox hadn’t changed, and that changed the entire scope of what we recommended. Without the photo, the default assumption is that the crack is new and active.
Documentation also helps you understand what you’re looking at. The more you compare photos year over year, the more you learn to spot the difference between a stable condition and a worsening one. And that’s the entire point of this checklist: building competence in your own home’s chimney system over time.
Checklist Items That Signal Repair Costs
Not every checklist finding is a repair. Many are just conditions to monitor. But some findings are leading indicators of real money, and knowing which is which helps South Gate homeowners budget and prioritize. Here’s what different findings typically mean in terms of repair scope.
| Checklist Finding | What It Usually Means | Typical Repair Path in South Gate |
|---|---|---|
| Missing or rusted cap | Water and animal entry point | Cap replacement; $150-$500 depending on material |
| Hairline crown cracks | Normal aging; monitor | No immediate action if under 1/8 inch |
| Crown cracks wider than 1/8 inch | Active water intrusion | Crown resurfacing or rebuild; $800-$2,500 |
| Spalling brick faces | Saturated masonry failing | Tuckpointing or partial rebuild; $1,000-$5,000 |
| Damper won’t seat | Warped plate or rusted assembly | Damper repair or replacement; $200-$800 |
| Clay tile pieces in firebox | Cracked liner, likely above the visible section | Liner replacement or resurfacing; $2,500-$8,000 |
| Glazed creosote in visible flue | Stage-three buildup; chimney fire risk | Professional chemical treatment and sweep |
| Efflorescence on exterior | Water moving through masonry | Waterproofing and source correction |
| Smoke backing up into room | Draft failure; multiple possible causes | Level 1 or Level 2 inspection required |
These are the price ranges we’ve seen in the South Gate market. Every chimney is different, and the exact number depends on access, height, and specificity of the repair. But the table gives you a framework for what a finding actually costs, which makes you a harder person to oversell.
What we want South Gate homeowners to understand is that a $500 cap replacement done in April prevents a $2,500 crown rebuild done in December. The cheap fix is usually the early fix. The expensive fix is what happens when the early fix gets skipped for three years running.
The Dryer Vent Add-On Most Checklists Miss
Most chimney maintenance checklists ignore the dryer vent. That’s a mistake. From a fire-safety standpoint, the dryer exhaust system is the residential system that most closely mirrors a chimney: it moves hot, particulate-laden air from inside the home to the outside, and when that particulate builds up, it burns.
According to the National Fire Protection Association, dryer vent blockages are a leading cause of residential structure fires in the United States, accounting for thousands of fires annually. Lint is combustible, and a clogged dryer vent creates two compounding problems: reduced airflow, which makes the dryer run hotter and longer, and a concentrated deposit of highly flammable material in a confined exhaust run.
In South Gate, where many homes have interior laundry rooms with long horizontal vent runs through attics or crawl spaces, the risk is higher than average. A vertical or short-run vent in a garage might push lint out efficiently. A 15-foot run with three elbows, common in older South Gate footprint homes, is an accumulation machine.
The checklist item is simple: include dryer vent cleaning in South Gate on the same annual cadence as your chimney sweep. Most homes need it once a year, and the work is fast and noninvasive. The benefit is not just fire safety; a clean vent means a dryer that dries clothes in one cycle instead of two, and that saves energy and time all year long.
We treat dryer vent cleaning as a core safety service because it is one. It’s the same principle as a chimney sweep: remove the combustible accumulation before it becomes a problem. The only difference is that most homeowners don’t think about their dryer vent until the dryer stops working, and by then the accumulation has been building for years.
Common Mistakes to Avoid
- Skipping the cap check because “it was fine last year.” Caps fail gradually. A cap that was slightly tilted last year is missing this year. The annual check takes 30 seconds and it’s the cheapest fix on the whole checklist.
- Burning unseasoned wood because it was cheap or free. Wet wood burns cooler and produces dramatically more creosote. South Gate homeowners who burn salvaged or green wood are the ones we see with stage-three buildup in a single season.
- Trusting the damper without checking it. A damper that doesn’t seat is invisible in daily life. You don’t notice the warm air leaving the house in winter until the energy bill shows up, or the cold draft in July is just “how the room feels.”
- Ignoring the chimney in summer entirely. The repair window in South Gate is May through September. Waiting until October to think about the chimney means competing with everyone else who did the same thing.
- Assuming the smoke alarm is the carbon monoxide alarm. They’re different. A smoke alarm does not detect CO. If you burn wood in South Gate, you should have a CO detector on the same floor as the fireplace and ideally in the same room.
- Brushing off a pitch smell as “just the fireplace being old.” A persistent smell, especially in spring and summer, usually means moisture in the flue mixing with creosote. That’s a condition to investigate, not an old-house charm to accept.
When to Call a Professional
Some checklist findings you can monitor. Others you can’t. Call a professional when you see any of these: clay tile pieces in the firebox, cracks in the firebox wider than a nickel, a cap that’s missing or visibly displaced, smoke that backs up into the room during use, a persistent chemical or musty smell coming from the fireplace, or any sign of water staining on the ceiling or walls adjacent to the chimney. Also call if it’s been more than 12 months since the last inspection and you plan to burn at all this season. The annual sweep is the linchpin of the entire checklist. Chimney Sweep South Gate home page has more detail on our process. We offer free estimates in South Gate, and you can reach us at (833) 958-8849 to schedule an annual sweep or a repair evaluation.
Frequently Asked Questions
Once per year is the standard for South Gate homeowners who burn wood regularly during the winter months. If you burn less than a dozen fires per season and use only kiln-dried wood, you might stretch to 18 months. If you burn weekly, burn unseasoned wood, or have an older home with a clay tile liner, annual is the minimum. The National Fire Protection Association standard is that chimneys should be swept when creosote reaches 1/8 inch, and most South Gate burn seasons will put you at or past that threshold.
You can inspect the firebox, the damper, the visible exterior masonry, and the cap from the ground, and those checks will catch a meaningful percentage of problems. What you can’t inspect is the upper flue, which is where most of the serious creosote accumulation and liner damage occurs. That section requires a camera scope or a trained sweep with proper lighting. The owner-observable checklist in this guide covers everything you can do yourself, and the professional-only section covers everything you can’t.
A standard chimney sweep in South Gate typically ranges from $175 to $350, depending on chimney height, creosote stage, and whether it’s a routine cleaning or a first-time cleaning on a neglected system. A Level 1 inspection is typically bundled with the sweep. If you’re looking at Chimney Sweep in South Gate options, the price should always include the inspection, not just the brushing. Call (833) 958-8849 for an exact quote on your chimney.
Run the Santa Ana wind protocol from this guide: check the cap from the ground, inspect the spark arrestor for debris, look for new crown cracks, check the flashing for lift, and listen for animal activity in the flue. If anything looks off, schedule a professional inspection before the next burn. A displaced cap after a wind event is the single most common wind-related repair we handle in South Gate.
It depends on the crack’s width, location, and whether it’s extending through the firebrick or just the surface mortar. Hairline mortar cracks are normal and not an immediate concern. A gap wider than a nickel, or any crack that extends through firebrick into the wall cavity, is a potential heat-transfer and fire hazard and the fireplace should not be used until a professional evaluates it. The firebox is the last line of defense between the fire and the combustible structure around it.
You can clean the first few feet of the vent from the dryer connection and the exterior termination, but the middle section requires professional equipment to properly dislodge and extract lint from the full run. Most South Gate homes have long vent runs with multiple elbows, and a brush kit from a hardware store doesn’t reach or properly clean those. A professional dryer vent cleaning clears the full run and verifies airflow with testing equipment. Given that lint blockages are a leading cause of residential fires, this is not the service to save a hundred dollars on.
The Bottom Line
A chimney maintenance checklist works when it matches how you actually live in South Gate: seasonal burning, real wind events, and a housing stock that’s aging in predictable ways. The checklist in this guide gives you the month-by-month rhythm, the owner-observable inspection points, the Santa Ana protocol, and the documentation habits that make every future repair conversation an informed one. The bottom line is simple. Check what you can check. Document what you find. Sweep before you burn. Repair in spring. And when something crosses the line from monitor to action, call a professional who can tell you the difference and show you the evidence. For more guides & resources, explore our blog. That’s the entire game.
Written by the team at Chimney Sweep South Gate, serving South Gate since 2013.
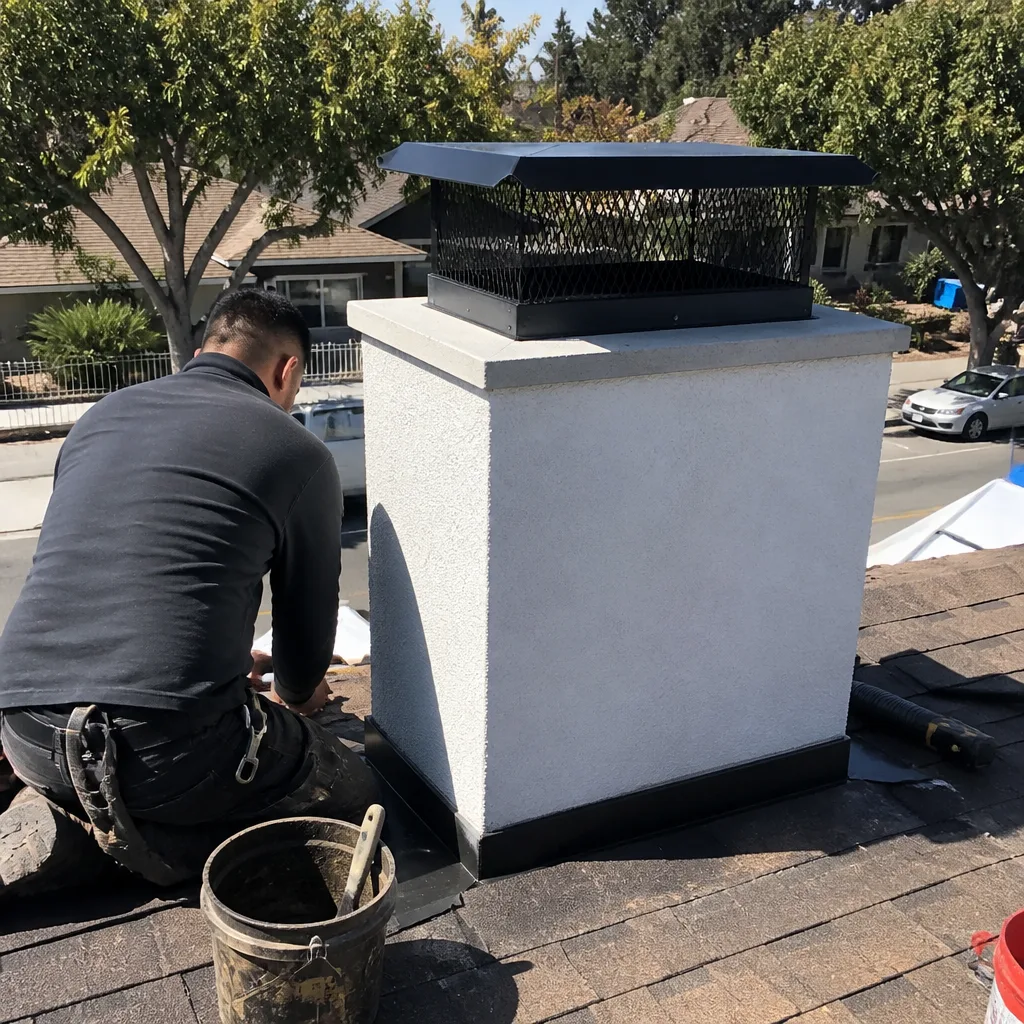
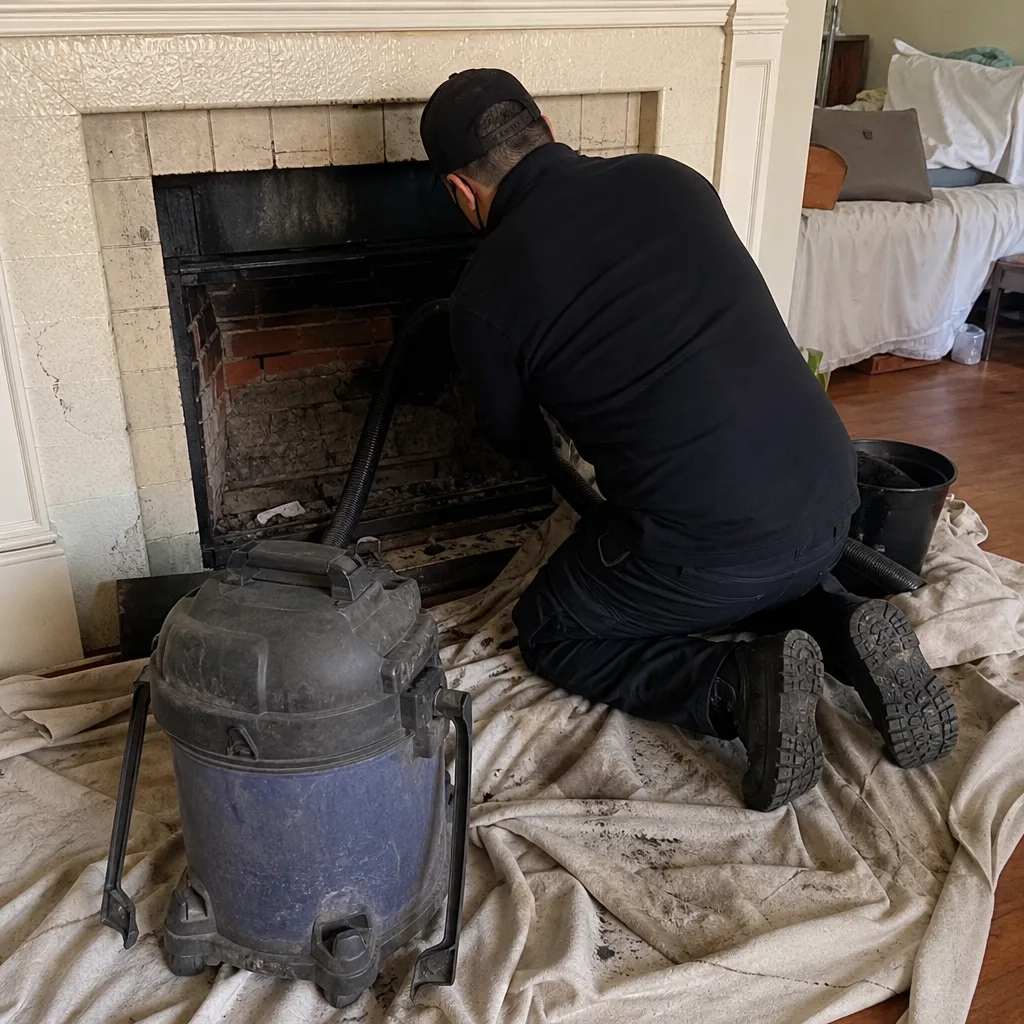
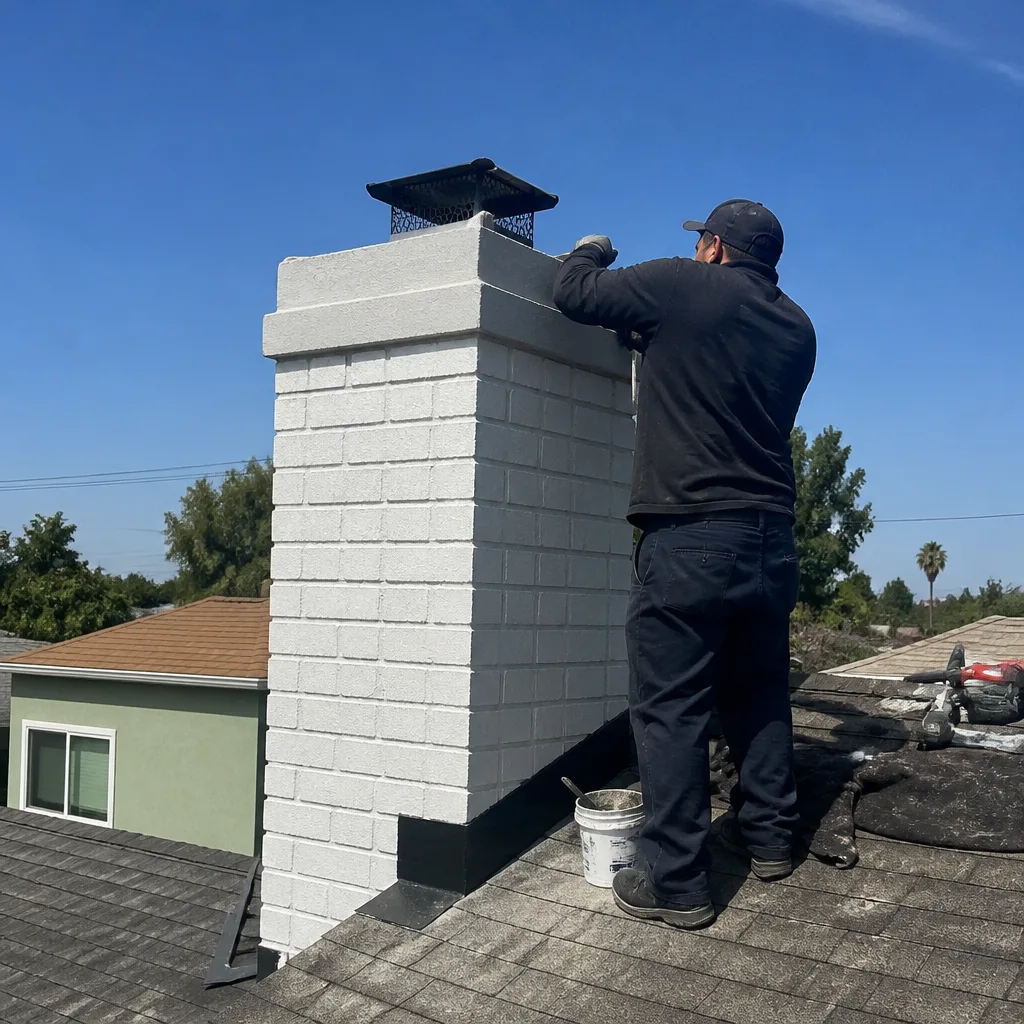
See the difference
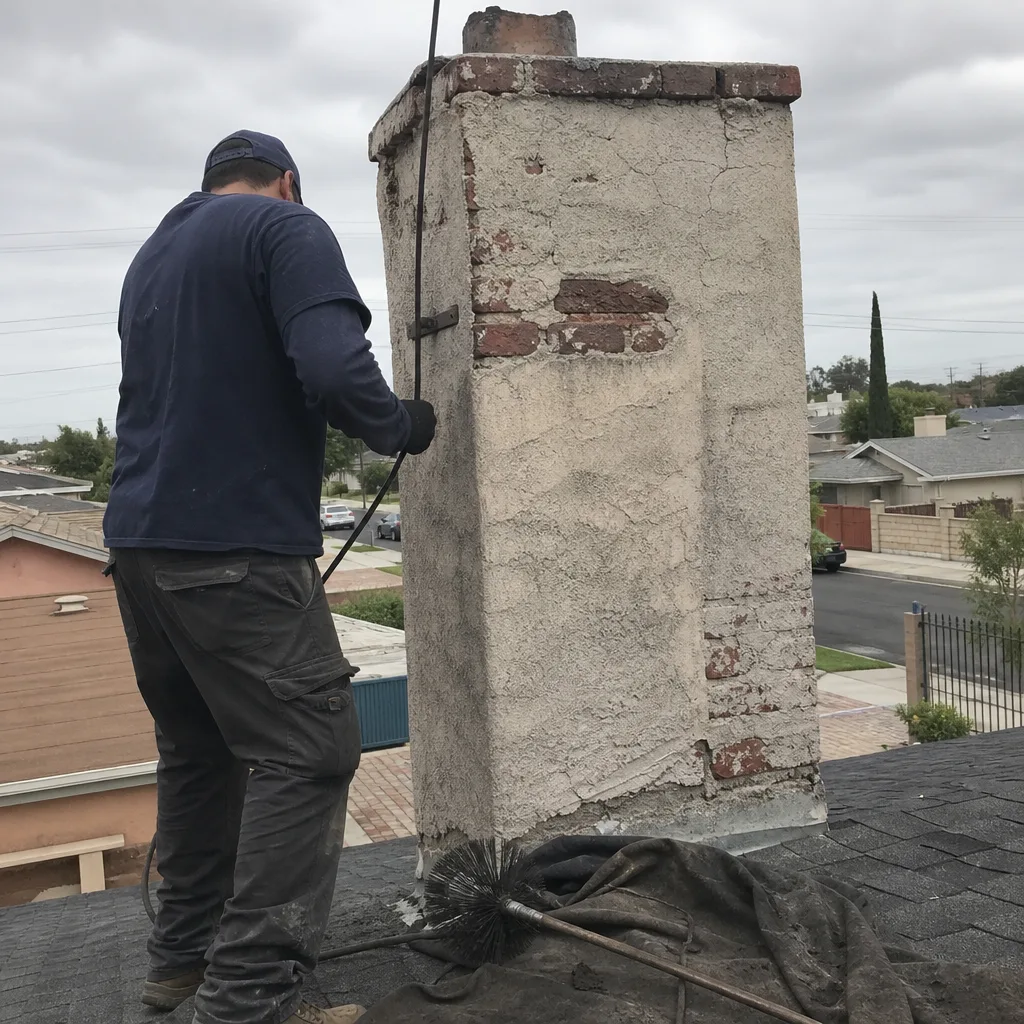 Before
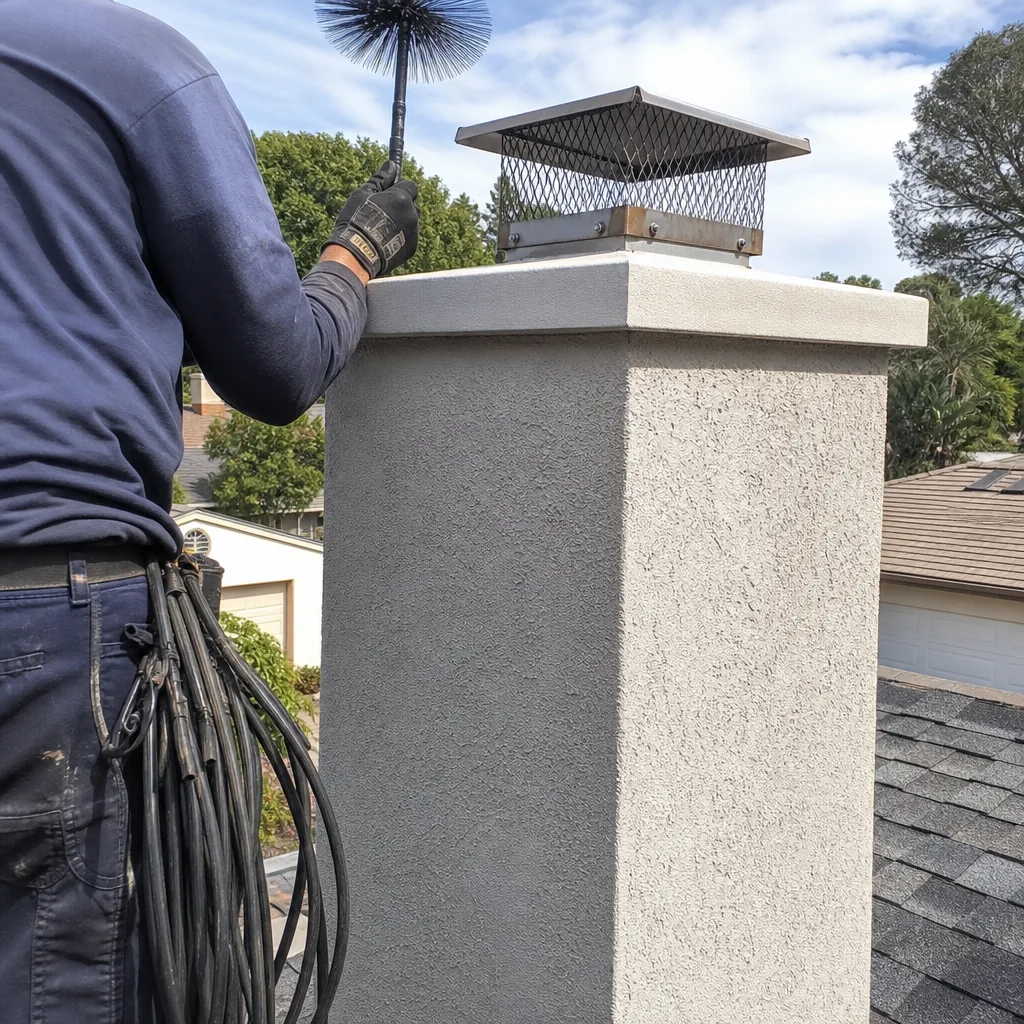 After
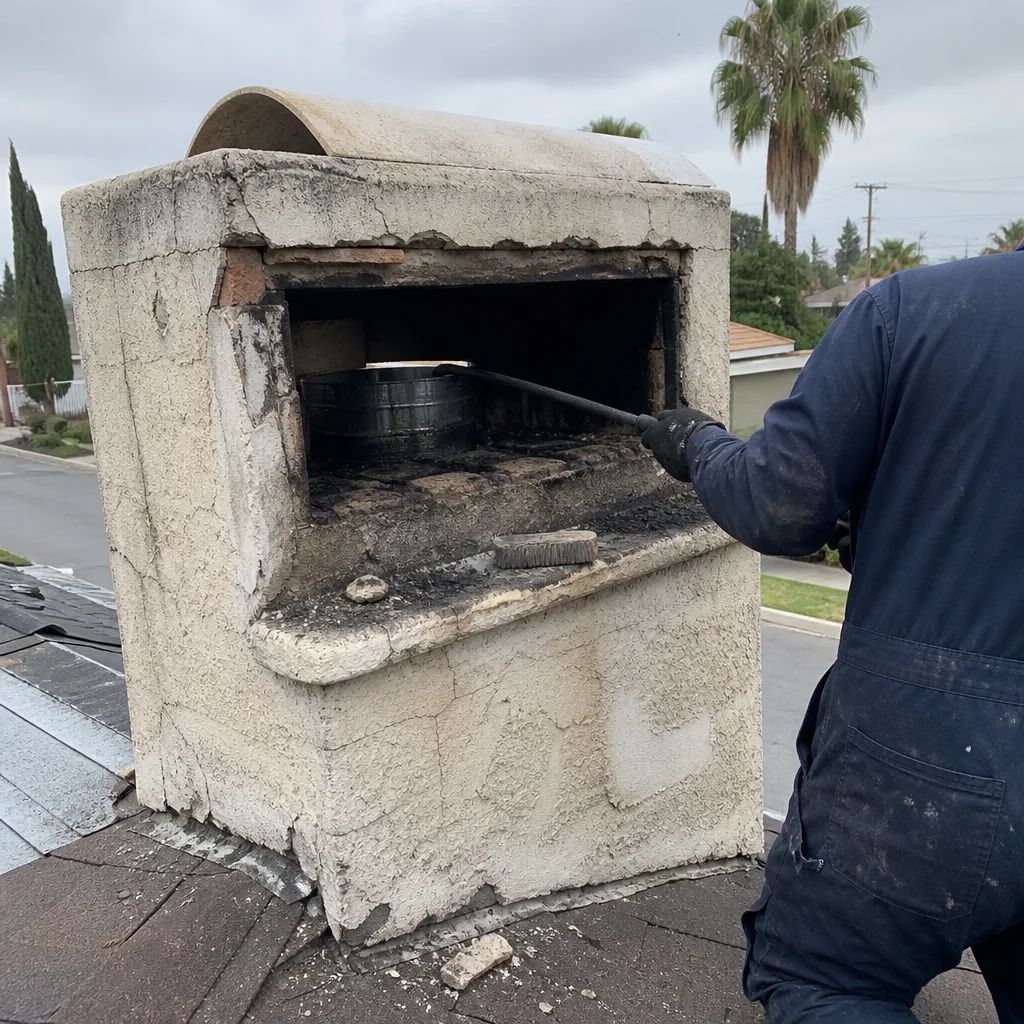 Before
 After
 Before
 After